Did you see that the Painted Blooms DSP is on the Weekly Deals this week?! Great time to stock up and make some of these cute little bags yourself!
So let's get started with the directions for these beautiful bags! They perfectly hold a Scentsy Hand Lotion, but I'm sure they would accommodate lots of things!
Painted Blooms DSP: 8" X 10 1/2"
Score in Portrait orientation at: 2"
Score in Landscape orientation at: 3", 4" (to the score line), 5", 8", 9" (to the score line) and 10"
Burnish your score lines EXCEPT THE 4" AND 9" marks, those will be your gussets!
Trim off smallest rectangle and trim up the remaining score lines. Give your larger rectangles at the bottom a hair cut. It will help your box go together better.
Place a strip of Fast Fuse along the skinny strip and fold over your bag to adhere it.
Fold in your tabs on the bottom to create the bottom of your bag.
Now gently squeeze at the top of the bag pushing in on your gussets to create the top of your bag.
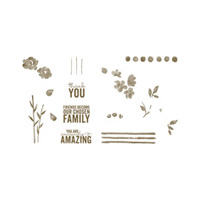
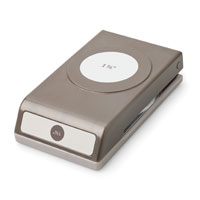
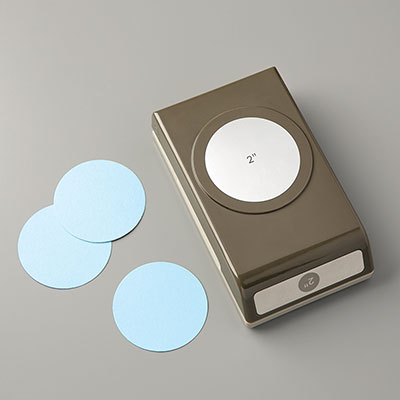
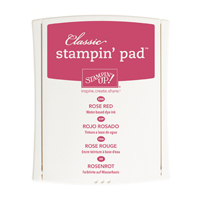
Taking a scrap of Whisper White, use Rose Red ink and your Thank You sentiment from the Painted Petals Stamp Set and stamp your image. Using the 1 3/4" Circle Punch, punch it out with the sentiment towards the right side. Now punch out a piece of Soft Sky card stock with your 2" Circle Punch. Use SNAIL to adhere the circles together and to 1/2 of a doily. Put 3 Rhinestones across the top. Now trim off the extra along the side. Use Dimensionals to attach it to your bag.
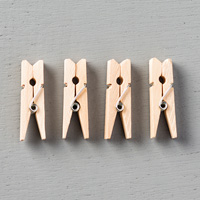
With your Mini Clothes Pin, take a 2 Way Glue Pen and run it over one side of the clothes pin. Now attach a 1/4" strip of coordinating DSP and trim off the extra. Repeat on the other side.
Use your flower image punch from the Itty Bitty Accents Punch Pack and punch out a piece of Rose Red Card Stock. Use a Glue Dot to attach it to your Clothes Pin and place a Rhinestone in the center. Use it to keep your bag closed. That's it!!!
Cute overload!! Watch the video below for more instruction!
Supply List:







No comments:
Post a Comment