Tuesday, June 30, 2015

Today is the Last Day!

June 30th, 2015 marks the last day to join Stampin' Up! and get this awesome deal!  
Join my team of Paper Peeps and get $125 worth of product of YOUR CHOICE, FREE SHIPPING and 2 EXTRA STAMP SETS OF YOUR CHOICE for only $99!!! 
This is the most awesome deal! 
Whether you are just looking for a discount on your own supplies or want to go all out as a business demonstrator, this is the kit for you!
If you have any questions, I'm here to help!  I hope you will consider joining my fantastic team!

You might be wondering if you can use Clearance Rack or Weekly Deals in your kit, and the answer is ABSOLUTELY!  Click the images below to see this week's deals and the new goodies added today in the Clearance Rack!


Sunday, June 28, 2015

Sprinkles of Life Celebration!
This weekend has been FULL of birthday celebrations!  Our oldest, Abby, turned 6 and we have been celebrating all weekend!  She had a birthday party Saturday that included fun with her friends at a local family entertainment center, then a cookout with family and close friends that night.  This morning she is on her way to her very first Orioles Game!  She's super excited of course!  


So with all the celebrations going on around here, it only seemed right to share some cards created using the Sprinkles of Life stamp set that we recently created at an upline's meeting! 


This one is my favorite, I love the layered ice cream cone effect!  How stinkin' cute!
I hope you are inspired by these cards to create some fun Sprinkles of Life cards of your own!


Wednesday, June 24, 2015

June Paper Pumpkin Alternate Projects

Get a sneak peek at this month's alternate project ideas!  Now remember, these are only 2 of the alternate ideas my personal paper pumpkin peeps receive each month!  


The first of the projects is a gift card holder.  It's created using one of the pennant shaped cards.


You simply score at 1 1/2" on either side of the center score line.  Then use some adhesive down both sides and bottom to secure the holder together.  Then use your Window Punch to trim out a space in the tab to put your gift card.  You will need to trim within 1/4" to 1/8" on either side in order for you gift card to fit in the space.  Watch the video below for more explanation.


The second alternate project ideas are gift tags!  Aren't they cute!?  I used the small pennant pieces and just decorated them up!  I used my 1/4" hole punch to tie through some of the thread that came in our kits.  


Watch the video below for more instruction:


Want to join my Paper Pumpkin Patch and get EXCLUSIVE ALTERNATE PROJECT IDEAS each and every month?!  CLICK HERE to sign up!


Tuesday, June 23, 2015

Simply Sports Baker's Box


It's my daughter Abby's birthday today!  She's 6....oh my heart!  My baby girl is 6!  
She's not the typical ballet loving, dress wearing, Disney princess lovin' kinda girl.  Don't get me wrong, she loves the color purple and painting her nails, but she's tough little girl.  She plays baseball with the boys and has made a few of them cry, no kidding.  Baseball is one of the things that makes her sweet little heart skip a beat and of course we support her love!  Here are a couple pictures of her in all her cuteness on the field.


Isn't she just the cutest little bug you've ever seen!?  

Okay...back to the paper!


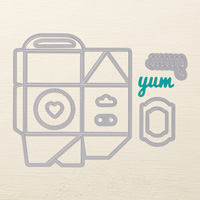
The Baker's Box Thinlits Die looks like this:

It comes with the base die to create the box as well as all the other die cuts to you see above.
To create the box you will need to run the main box die through twice with 2 pieces of card stock separately, don't try to do them together.  I cut my paper down to 6" X 11" and then again by 5 1/2" to create 2 equal pieces to run through my Big Shot.  It will cut it very close, but you can get your two sides out of the paper.  To attach those two together use Fast Fuse Adhesive or Tear Tape along the tabs created on one side to the next piece.  Do the same again to create the box.  Fold up the bottom applying Fast Fuse to help keep it closed.  Watch the video below to learn how to make the box.

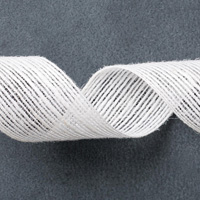
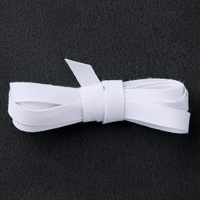
Use a piece of Jute Ribbon and Whisper White Cotton Ribbon to secure your box as shown.
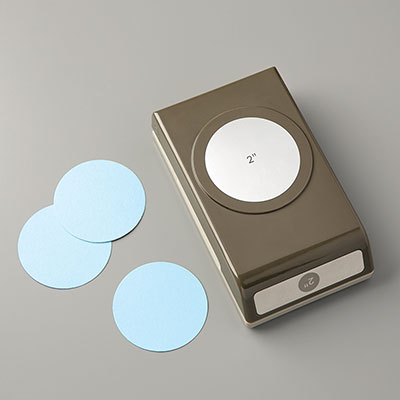
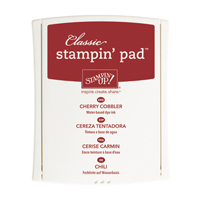
The stamping for this project is simple.  Use your Simply Sports set with the Baseball Player and stamp in Tip Top Taupe on a scrap of Whisper White card stock.  If you are making a girl player, be sure to use the swish of hair!  Punch this out with your 2" Circle Punch and layer it on a punch out from Cherry Cobbler from your 2 3/8" Scallop Circle Punch.  This can be adhered to your box with Dimensionals.  
With the Go Team sentiment stamp in Cherry Cobbler ink on a scrap of Whisper White.  Use the Bitty Banner Framelits to cut it out with your Big Shot Machine.  This is adhered to the box with SNAIL Adhesive.  Your box is complete!  

Supply List:


Monday, June 22, 2015

English Garden Gift Bag


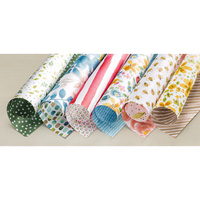
This super easy gift bag is a snap to put together and could be made for a variety of gifts.  I like having these small bags made up and ready to go whenever the need arises.  We will be using English Garden DSP and the Watercolor Wings set for this project.


 Here's what you'll need:

English Garden DSP 6" X 12"
Score in Portrait orientation at 1 1/2" and 4 1/2"
Score in Landscape orientation at 5 1/4" and 6 3/4"
Burnish on all your score lines and trim up the score lines and miter the sides of each tab.  Attach some Fast Fuse Adhesive to the small tabs and bring up one side tab. Then place adhesive on the remaining side tabs and bring them up to create your bag.  While pushing in the sides, squeeze the bag together.  Using a 1/2" Circle Punch, punch a hole through both layers at the top for your ribbon.
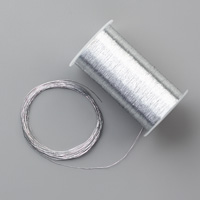
Thread through a piece of Jute Ribbon and tie it with several strands from the new Silver Metallic Thread.  

On to the stamping!
With a scrap piece of Whisper White card stock, ink up the small full image butterfly with Hello Honey ink.  Stamp off on some scrap paper, then onto your Whisper White.  Now with the next layer stamp, stamp with full strength Hello Honey on top.  Ink up the last image with Soft Suede ink and stamp that on top.  Don't forget to stamp your little Butterfly Body in Soft Suede.  
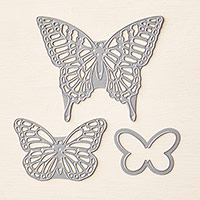
Use your Butterfly Thinlits to cut out your image.
Stamp your sentiment in Night of Navy ink on a strip of Whisper White card stock measuring 1/2" wide.  Use your Banner Punch to pennant one side of your sentiment.  Attach this piece to the bottom of a 2 1/2" Circle Punched piece of Night of Navy Card Stock.  Attach your die cut butterfly on the Night of Navy circle with a Glue Dot and attach this piece to your bag with Dimensionals.
Add some bling as you wish and your bag is done!

Watch the video below for the visual directions:


Supply List: