

Here is that Something Borrowed DSP again, man do I love this stuff!!! I'm not sure why I'm in a wedding spirit here lately, but having this paper in my hands just makes me think about a beautiful spring wedding! So this favor bag is originally from my Easter Class, but I wanted to show you these dimensions will work for all kinds of project ideas!
Here's what you'll need:
Something Borrowed DSP: 4"x12"
In Landscape orientation score at: 4", 5 1/2", 9 1/2", 11"
In Portrait orientation score at: 1"
Now we need to trim up all the score lines. The smallest square needs removed. Then you can burnish all of your score lines and start to assemble the bag. Place adhesive on the 1" strip and fold over the opposite side to create the bag. Place adhesive on one of the longer strips of the bottom of the bag. Fold in the two tabs in, then one long strip finishing with the strip with adhesive on it. I put my bone folder down inside the bag and push to make sure it adheres nicely.
Now is the time to fill the bag with your favor or treats.
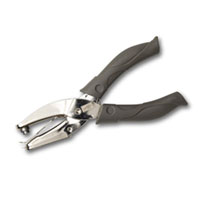
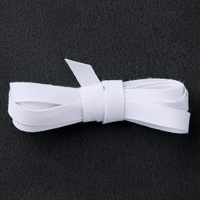
Using your fingers on either side of the bag, push in while pinching it closed. Then punch a hole at the top in the middle to thread your ribbon through.
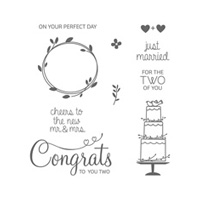
Then all you have to do is stamp, punch your circles and adhere it to the bag! Favor bag done!!

Watch the video below for the instructions:
Supply List:


No comments:
Post a Comment